
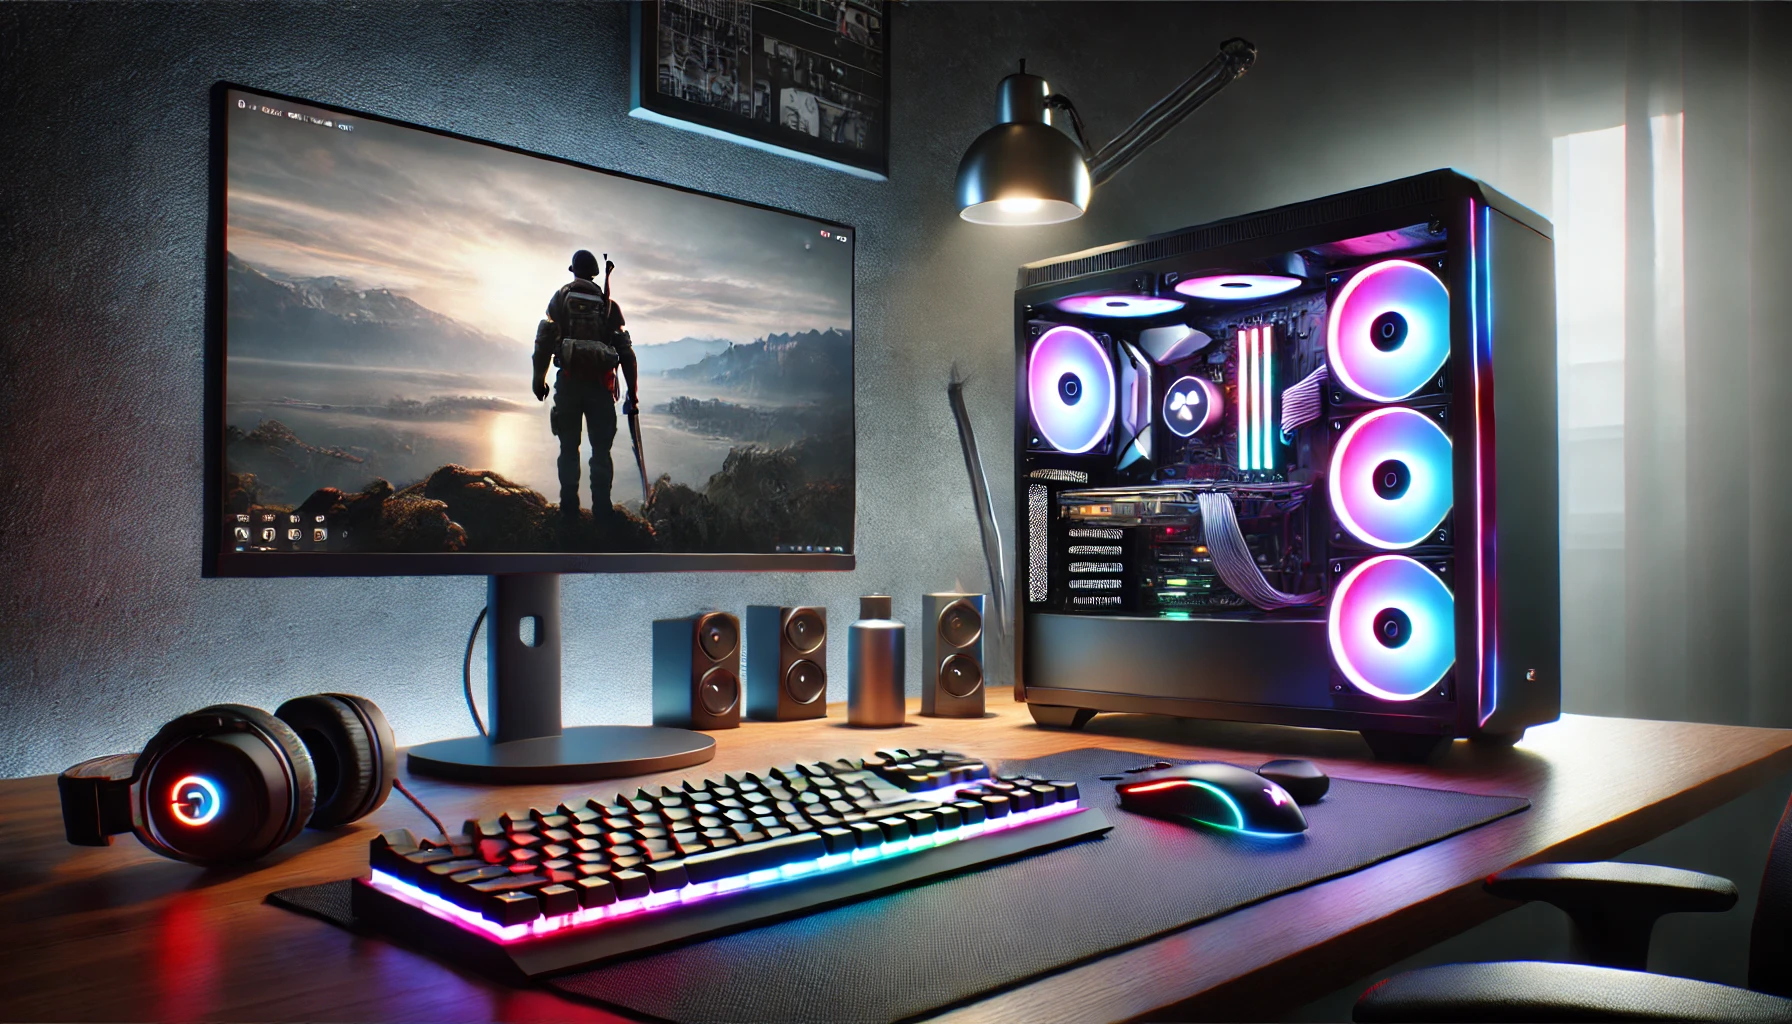
Building your own gaming PC is an exciting venture, but it can often feel intimidating, especially when working on a tight budget. However, with the right components and a well-thought-out plan, you can build a capable gaming PC without breaking the bank. This guide will walk you through everything you need to know about building a budget gaming PC that can handle modern games while keeping costs low.
1. Setting Your Budget
Before you start picking components, it’s important to decide on your budget. For a budget gaming PC, we recommend setting a target of £500 to £700. This price range provides enough flexibility to build a capable machine without unnecessary compromises.
2. Key Components Breakdown
Here’s a breakdown of the essential components for your gaming PC and what you should focus on when buying budget-friendly options:
a. CPU (Central Processing Unit)
Your CPU is one of the most critical components of your gaming build. For budget gaming, you want to strike a balance between performance and cost.
- Recommended CPU: AMD Ryzen 5 5600G – This CPU comes with integrated graphics and is perfect for those looking to save money on a discrete GPU initially.
- Alternative: Intel Core i5-12400F – A great mid-tier CPU with excellent gaming performance for budget builds.
b. GPU (Graphics Processing Unit)
The GPU is the heart of your gaming experience, and while high-end GPUs can be expensive, there are great budget options available that still provide good gaming performance.
- Recommended GPU: NVIDIA GTX 1660 Super – It offers solid 1080p gaming performance at an affordable price.
- Alternative: AMD Radeon RX 6500 XT – A capable budget GPU that performs well for the price.
c. Motherboard
The motherboard provides the foundation for your system, and selecting one that fits your CPU and future needs is crucial.
- Recommended Motherboard: MSI B450M PRO-VDH Max (for AMD builds) or ASRock B660M Pro RS (for Intel builds). These boards provide enough features for gaming without the high price tag.
- Key Considerations: Make sure the motherboard has enough RAM slots, PCIe slots for your GPU, and SATA ports for future storage expansion.
d. RAM (Memory)
For modern gaming, 16GB of RAM is the sweet spot. Look for high-speed DDR4 memory for optimal performance.
- Recommended RAM: Corsair Vengeance LPX 16GB (2 x 8GB) DDR4-3200 – It provides enough speed and capacity for gaming and multitasking.
- Alternative: Crucial Ballistix 16GB DDR4-3000 – A slightly cheaper alternative that still offers great performance.
e. Storage (SSD)
Solid-state drives (SSDs) are essential for fast load times in games and overall system responsiveness. An NVMe SSD is preferred, but a SATA SSD can work if you’re on a very tight budget.
- Recommended SSD: Western Digital Blue SN550 500GB NVMe – Fast and affordable.
- Alternative: Kingston A400 480GB SSD – A SATA-based option that will save a bit more money while still improving performance over traditional hard drives.
f. Power Supply Unit (PSU)
A reliable PSU is crucial to power your components safely. Don’t skimp on the PSU, as a poor-quality unit can cause instability or even damage your PC.
- Recommended PSU: EVGA 600 W1, 80+ White 600W – A solid budget power supply with enough wattage to power your system.
- Alternative: Corsair CV550, 80+ Bronze – Slightly more efficient and with more headroom for future upgrades.
g. Case
Your PC case not only holds your components but also affects airflow and cooling. Choose a case with good ventilation and enough room for your GPU and other components.
- Recommended Case: Cooler Master MasterBox Q300L – A compact, budget-friendly case with great airflow.
- Alternative: NZXT H510 – A bit more expensive, but it offers sleek aesthetics and excellent cable management.
3. Assembly Tips
a. Preparing Your Workspace
- Ensure you have a clean, static-free environment to build your PC.
- Gather tools, such as a screwdriver, and consider getting an anti-static wristband to avoid damaging sensitive components.
b. Step-by-Step Assembly
- Install the CPU: Place your CPU carefully into the motherboard socket, aligning it correctly to avoid damage.
- Install RAM: Insert your RAM sticks into the appropriate slots. Be sure to apply even pressure to lock them in place.
- Install Storage: Whether you’re using an NVMe or SATA SSD, install it in the designated slot on your motherboard.
- Attach the Motherboard: Place your motherboard into the case, aligning it with the standoff screws.
- Install the GPU: Insert your GPU into the PCIe slot on the motherboard.
- Connect the PSU: Attach all necessary power cables to your components. Ensure the CPU, GPU, and motherboard are connected.
- Final Checks: Double-check that all cables are securely connected before turning on your system.
4. Testing and Software Setup
Once your build is complete, it’s time to install your operating system and drivers.
- Install Windows or Linux: Use a USB drive to install your preferred operating system.
- Install Drivers: Download and install the latest drivers for your GPU, motherboard, and any other peripherals to ensure optimal performance.
- Test Performance: Use benchmarking software like 3DMark or Cinebench to test your PC’s performance and ensure everything is functioning correctly.
5. Future Upgrade Path
While you may be on a tight budget now, it’s essential to plan for future upgrades. Here are some components to consider upgrading down the line:
- GPU: As more demanding games are released, upgrading your GPU will ensure you can maintain high performance.
- RAM: Consider upgrading to 32GB if you plan to stream or do other memory-intensive tasks.
- Storage: Add a second SSD or HDD for additional storage space.
Conclusion
Building a budget gaming PC doesn’t mean you have to sacrifice performance. With smart component choices and proper assembly, you can create a machine that offers smooth gaming experiences and room for future upgrades. Follow this guide, and you’ll have a powerful gaming rig ready to tackle your favorite titles without breaking the bank.